
DIY Bar - Part 1
One Room Challenge Week 3
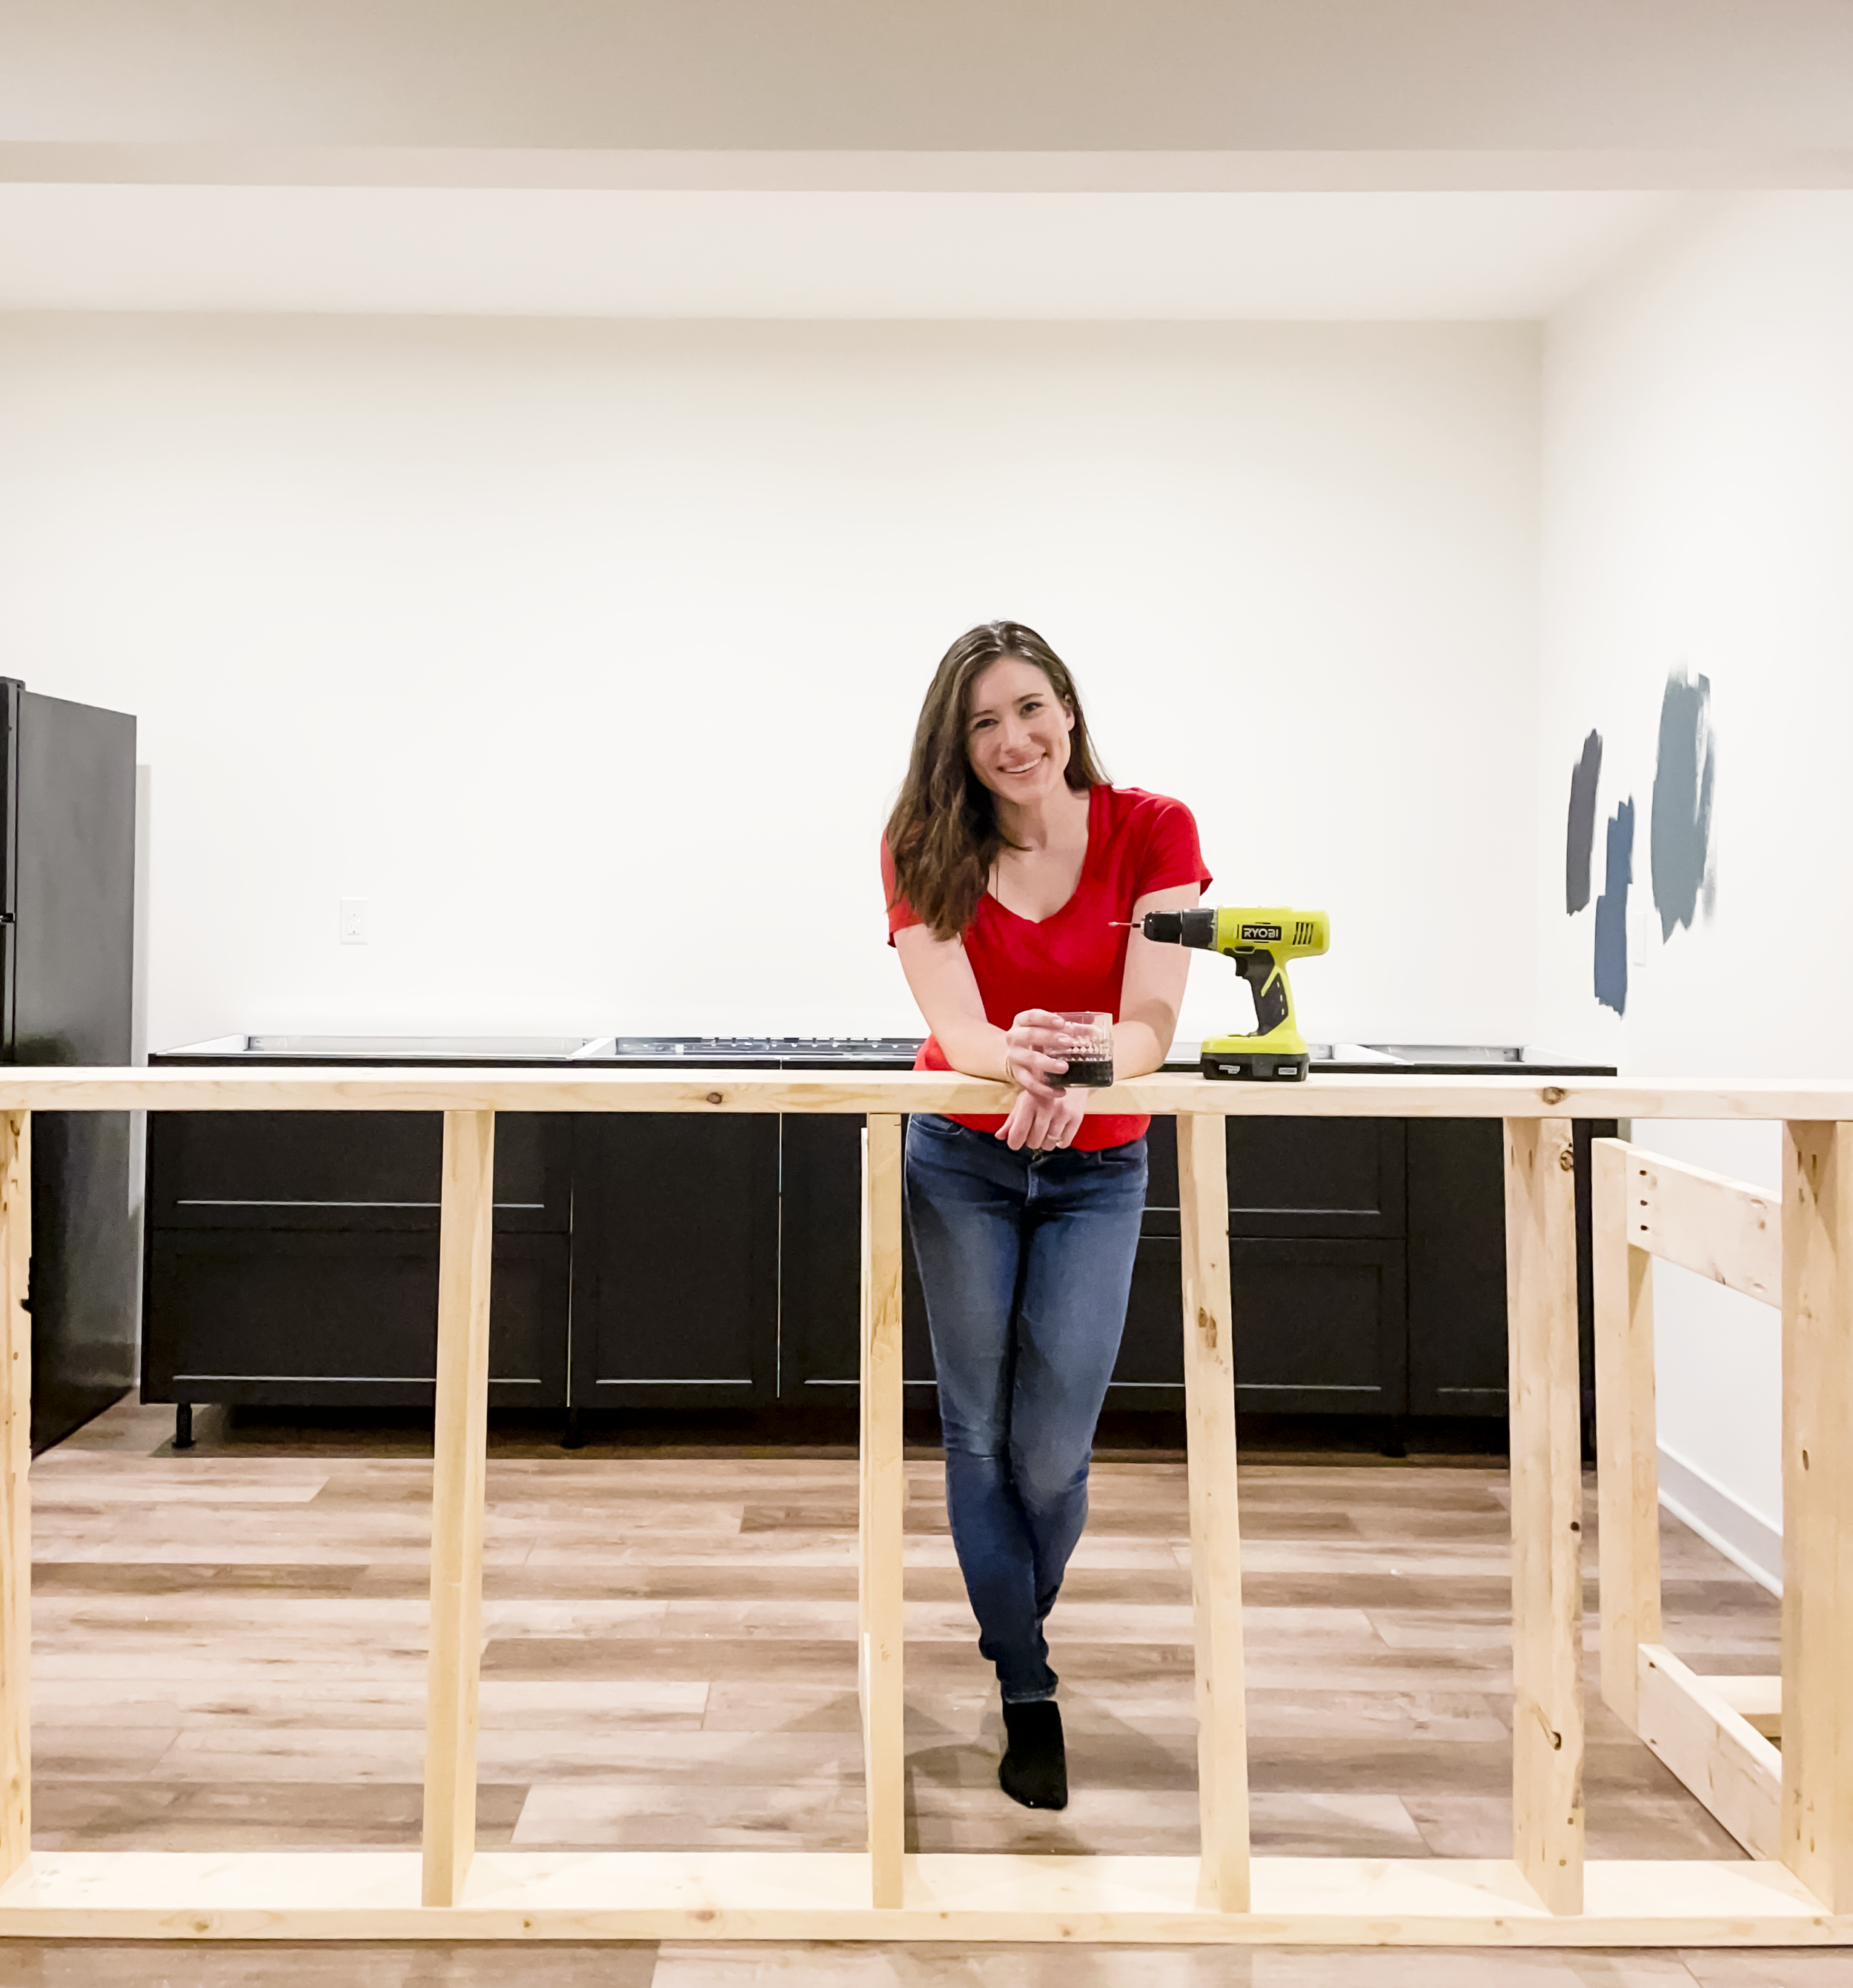
The framing of the DIY bar is done! And oh boy, she’s a big one. 10.5ft long, in fact. I enjoy this kind of building. Once you have the plan, it’s just methodical. But designing the plan – figuring out the exact measurements of each cut and the lumber lengths to buy to achieve those cuts… that’s my least favorite part. And that, of course, is where I had to start.
If you’re not up to speed quite yet, I’m building a full wet bar with speakeasy vibes in our basement as part of the One Room Challenge. You can see the design plans here. The back bar is made of IKEA cabinets and I’m building the rest from scratch.
DESIGNING THE BAR PLANS
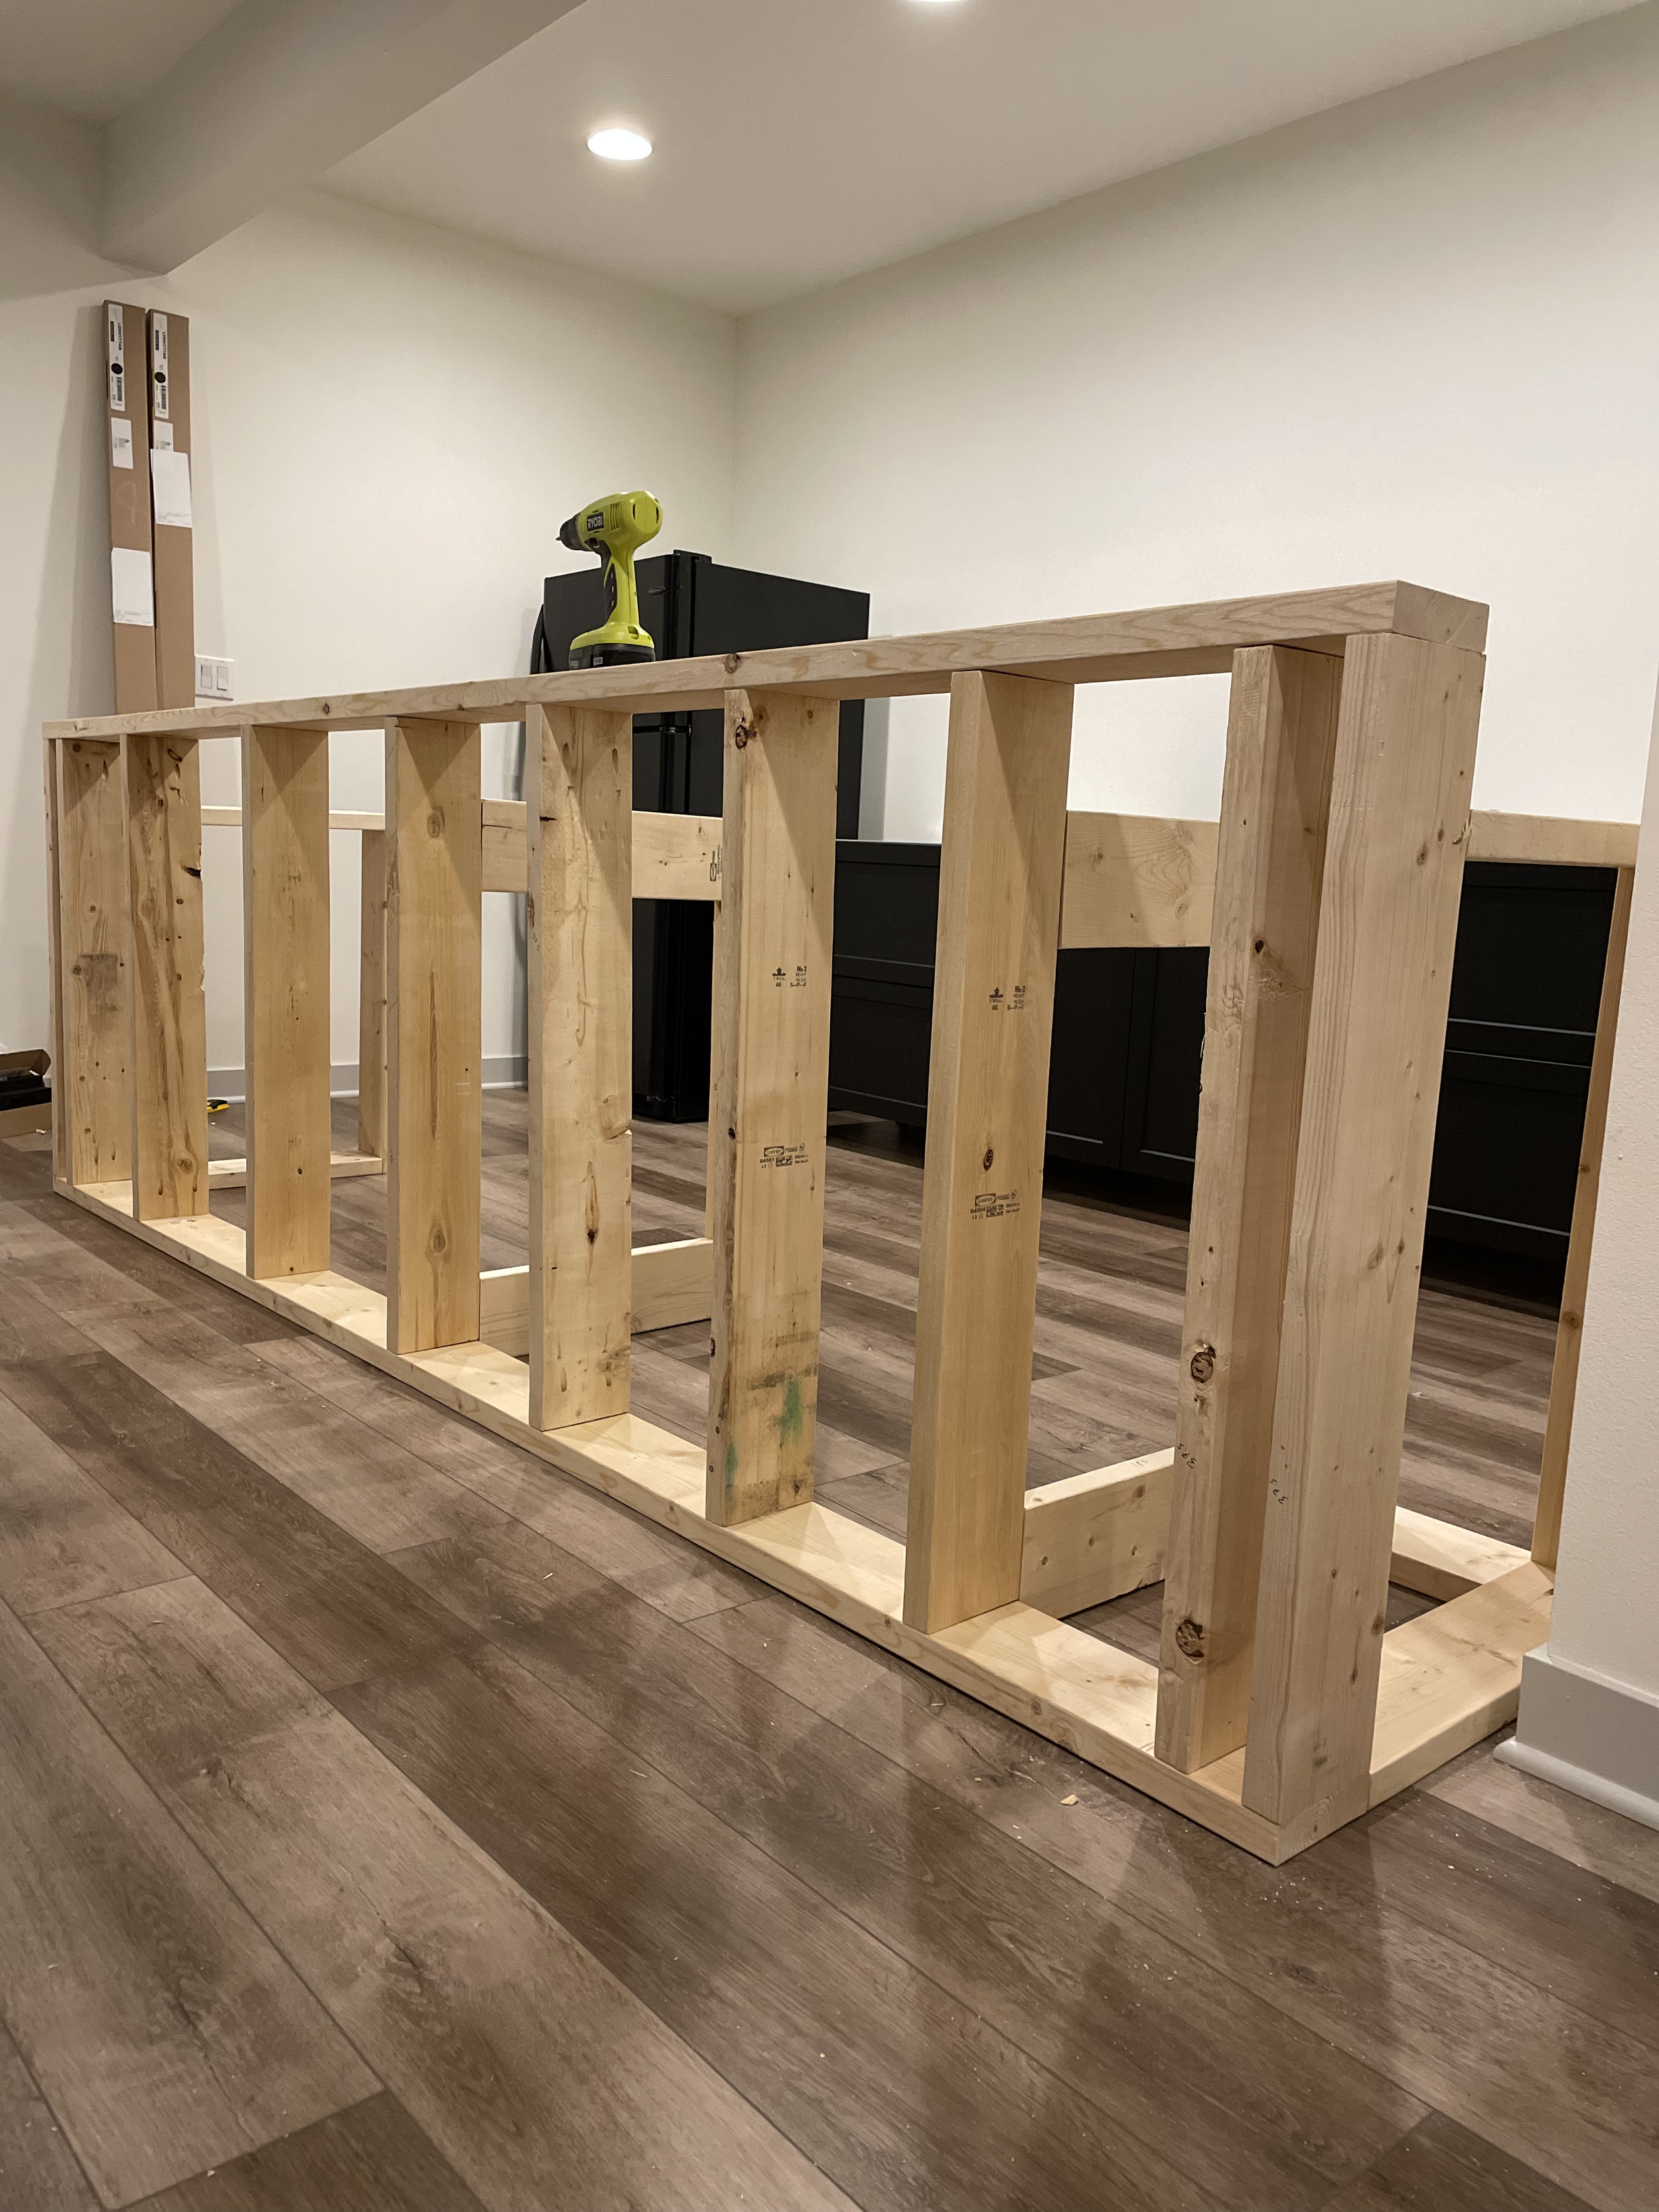
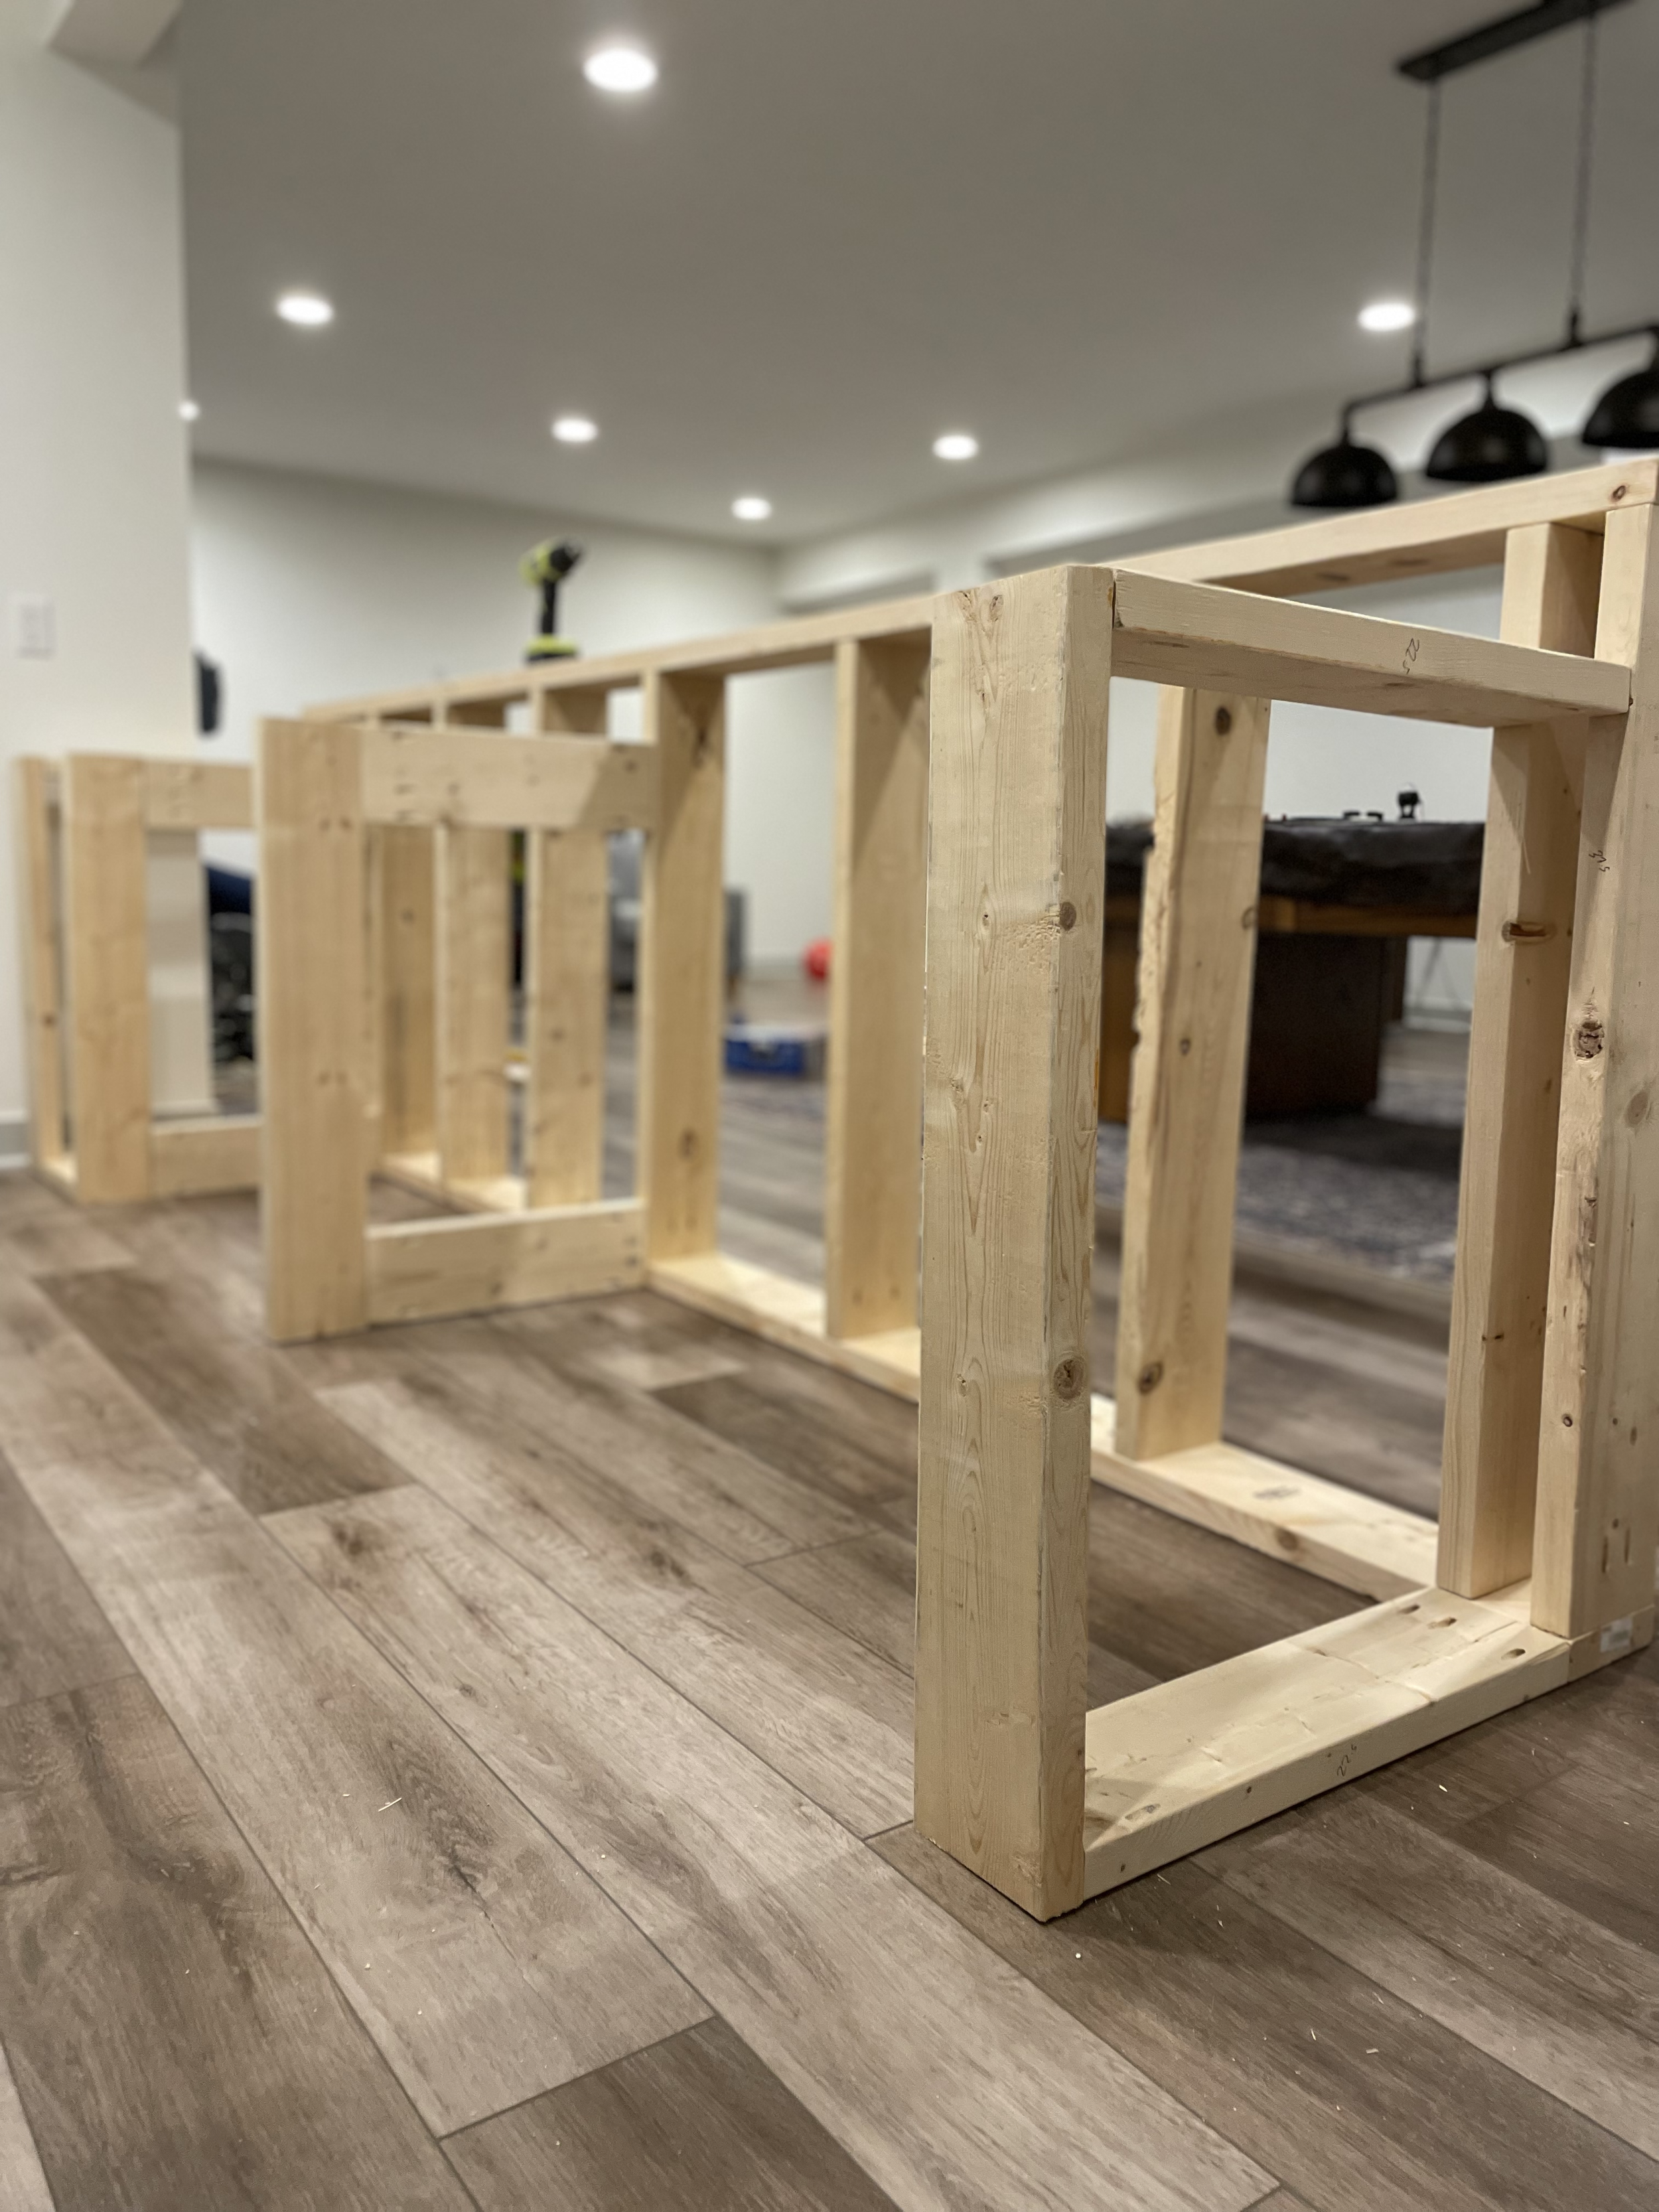
I searched and searched for bar plans to utilize but couldn’t find any that quite fit our needs. Specifically, I wanted to design the bar similar to many commercial bars – with a high bar top for seating and a lower back for prepping drinks and food. After a lot of research on standard measurements, here’s where I landed:
The top of the bar will be 42” once the 1.5” thick counter is added, with approximately 10” of countertop overhang.
The prep area, back bar and side counter will be 36” tall.
The bar length is approximately 10.5ft.
I ended up building it all with 2x6s, though I’ve seen plenty of bars done with 2x4s. This one is just so large that I want to make sure it’s extra sturdy!
If there’s enough interest, I’ll draw up plans with exact cut list. Drop a comment below if you’d find that helpful!
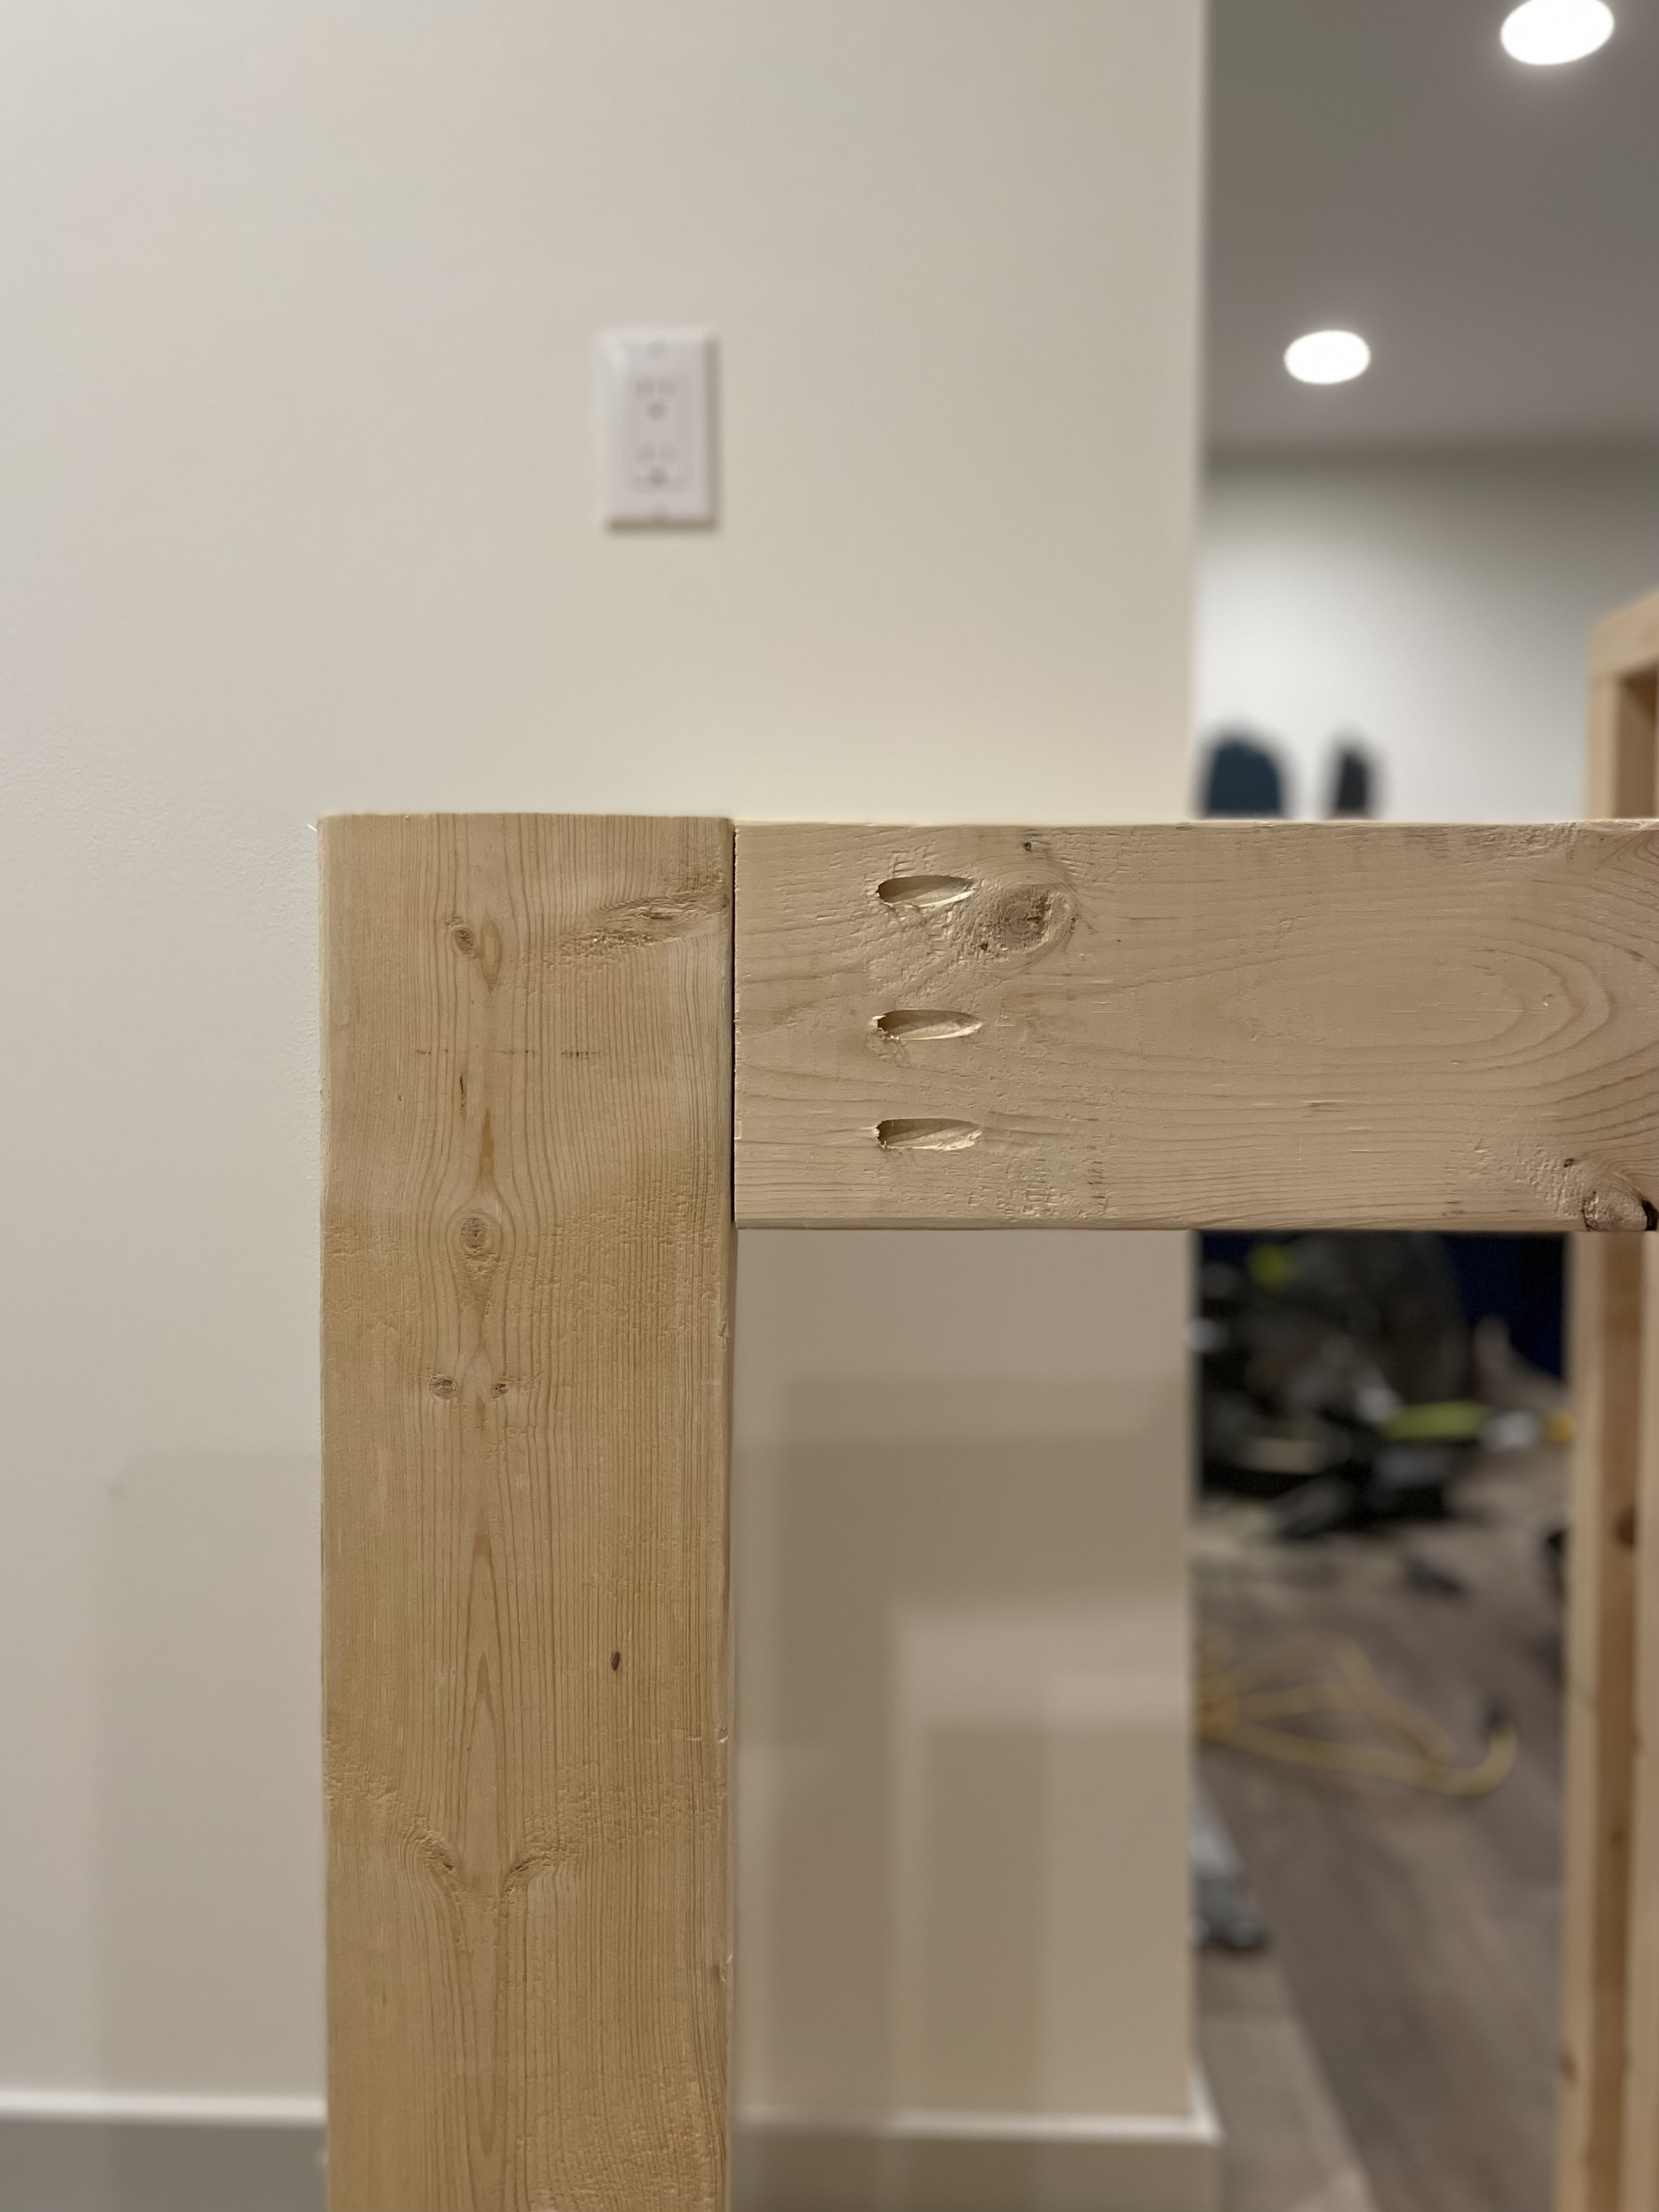
BUILDING WITH KREG JIG POCKET HOLES
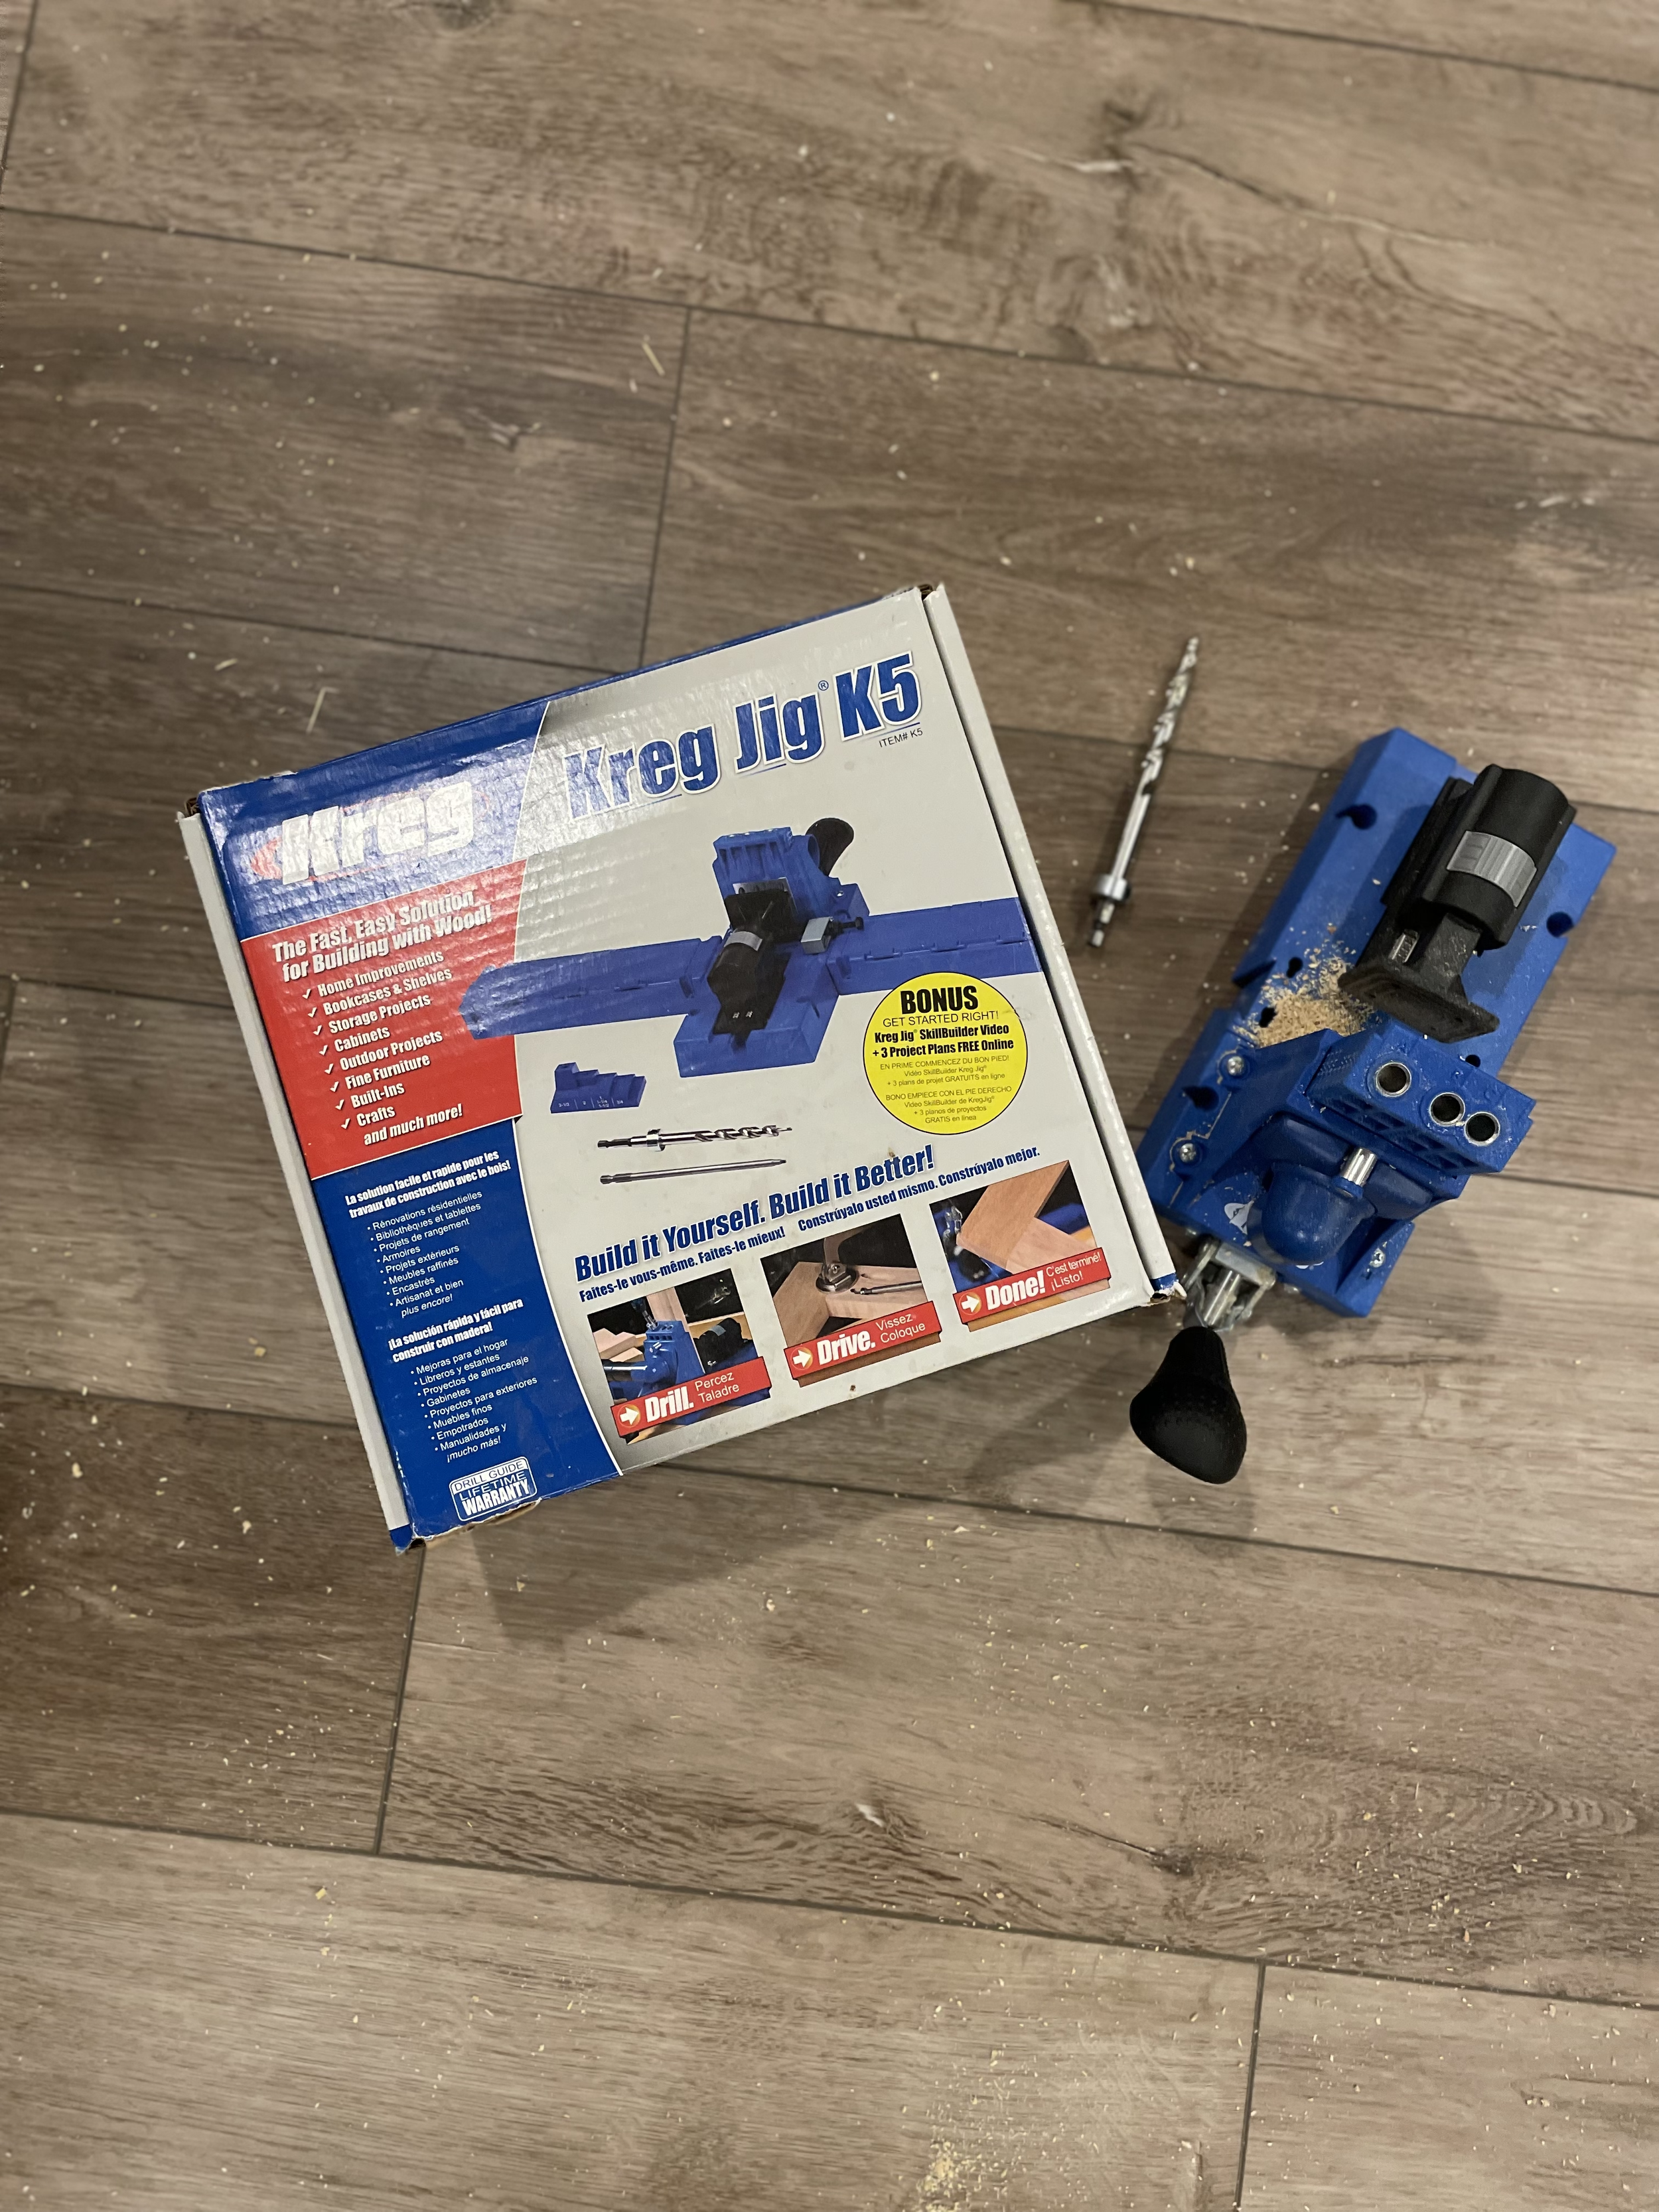
I used pocket holes to join all of the boards. Pocket holes are essentially pilot holes that make it easy to join two boards together by inserting the screw at an angle. The angle makes a stronger hold than a straight screw, and it’s also easier to join boards at certain angles, like a 90 degree corner. A Kreg Jig makes it easy to pre-drill pocket holes. It’s definitely on my top 5 list of must-have tools.
(Note: My Kreg Jig model is pretty old and now discontinued. You can find a comparable newer version linked here.)
OTHER HELPFUL TOOLS
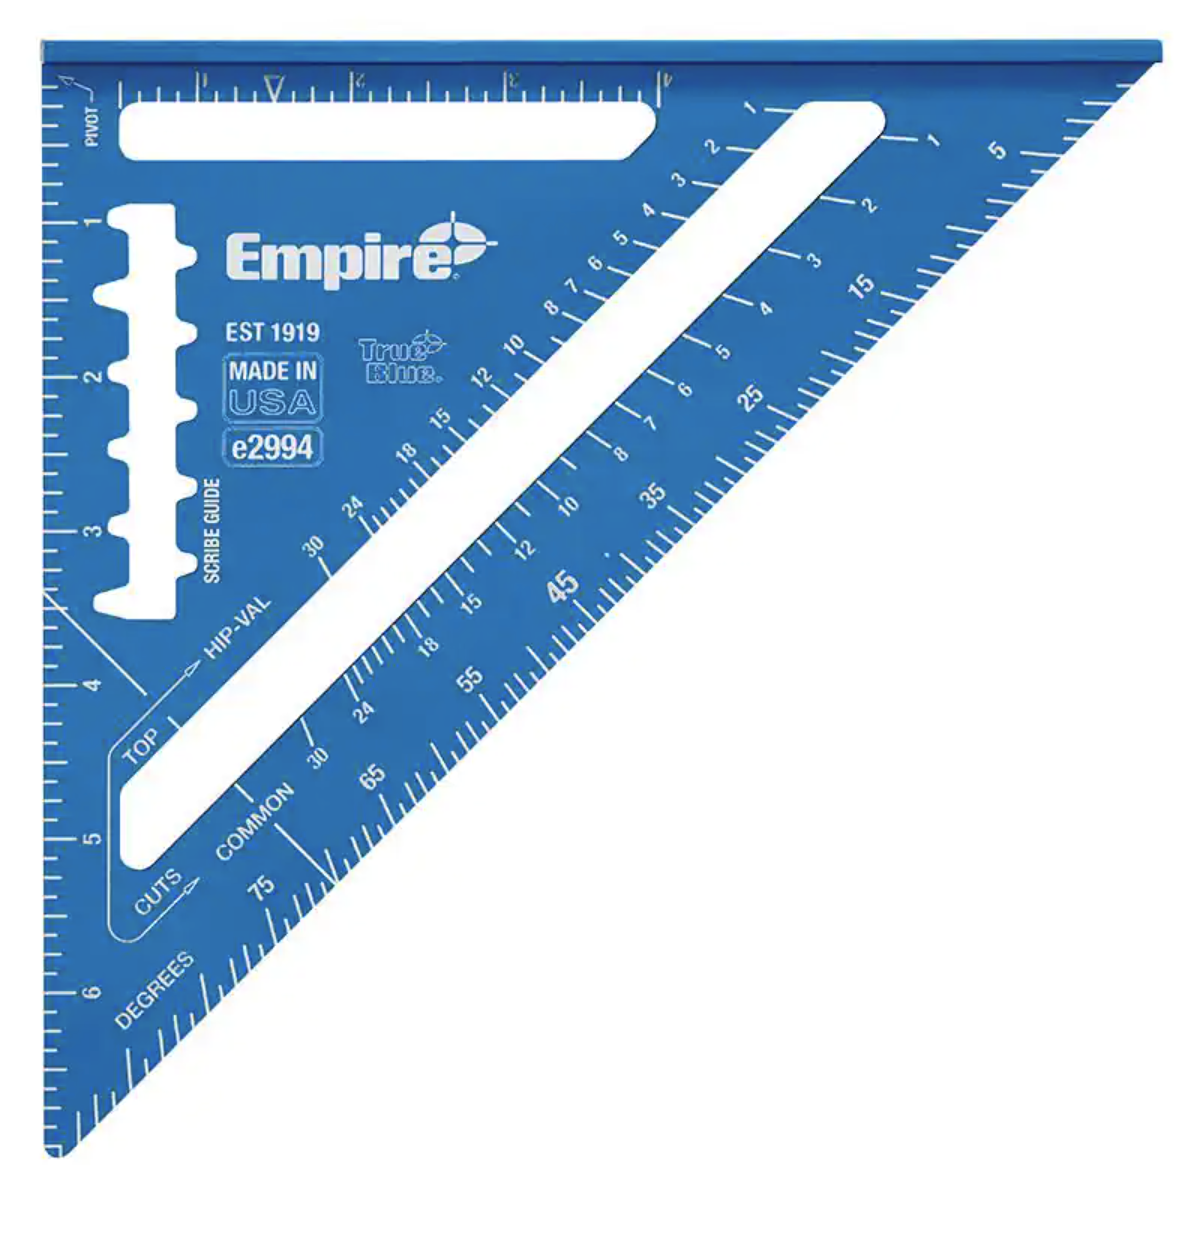
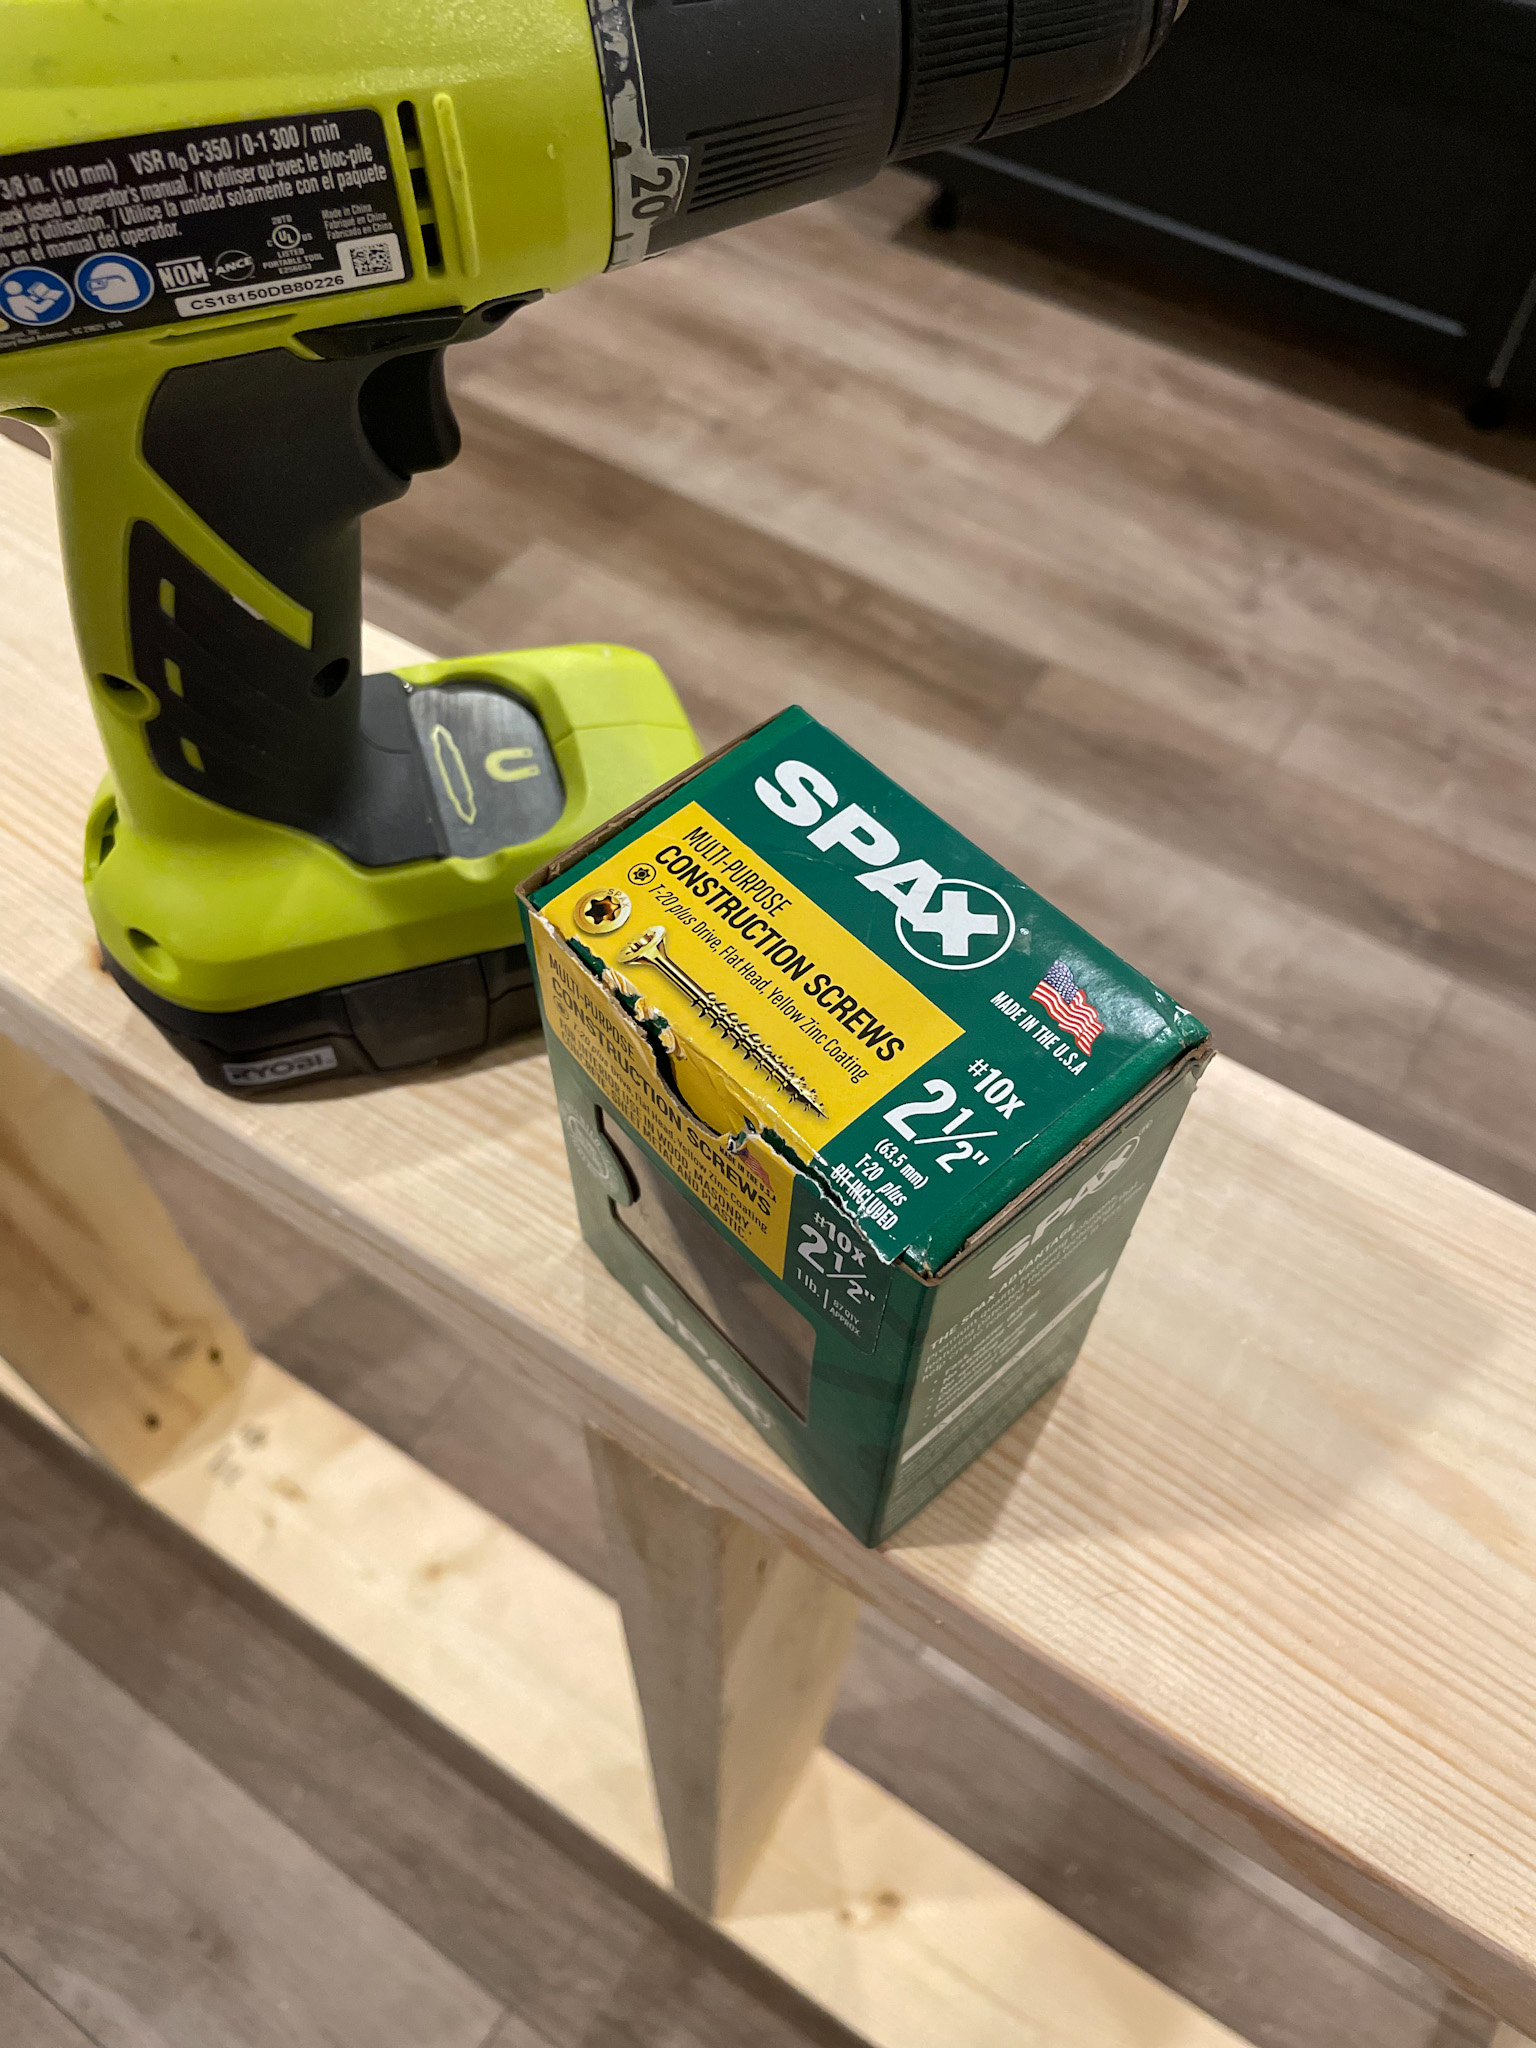
In addition to a Kreg Jig, I also suggest using a speed square to ensure that all of the corners and joints are perfectly square. Also, I think I’d have lost my mind if I hadn’t used star head (or “torx”) screws. Because they have more points of contact built into the head, they are just easier to manage and very hard to strip! I use them for nearly every project. You do need a star head bit for them, but this box comes with one included!
WHAT’S NEXT?
During the next week I plan to start adding the facing to the bar and wiring the pendant lights!
Be sure to check out my stories on Instagram to see more of the process, pivots and lessons learned along the way!

moody DIY basement bar plans
